Office 365 (Azure AD, Exchange, Sharepoint, General)
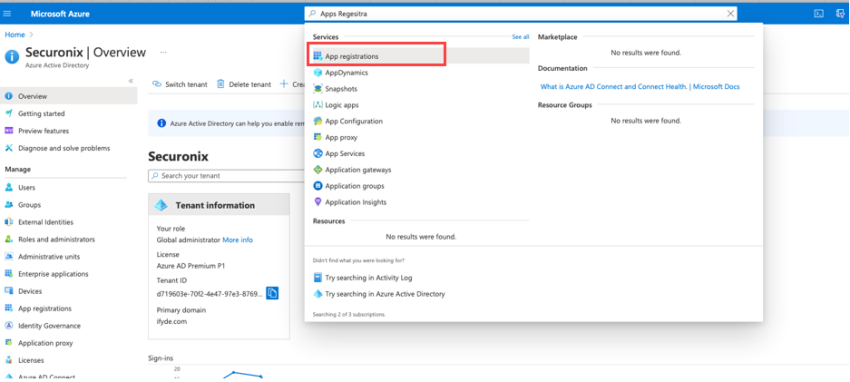
- Logon to the Azure portal as an admin and search for Apps registration from the top search bar.
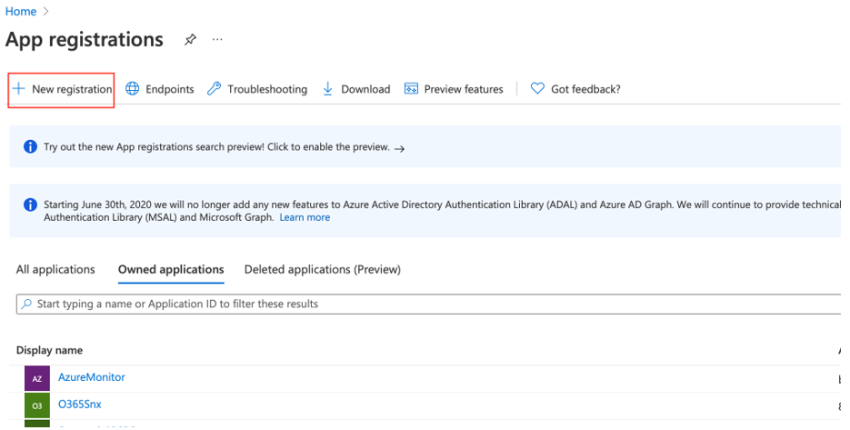
- Click + New registration.
- Enter the following information on the Register an application screen:
- Name: Securonix-O365
- Supported account types: Accounts in this organizational directory only (Single Tenant)
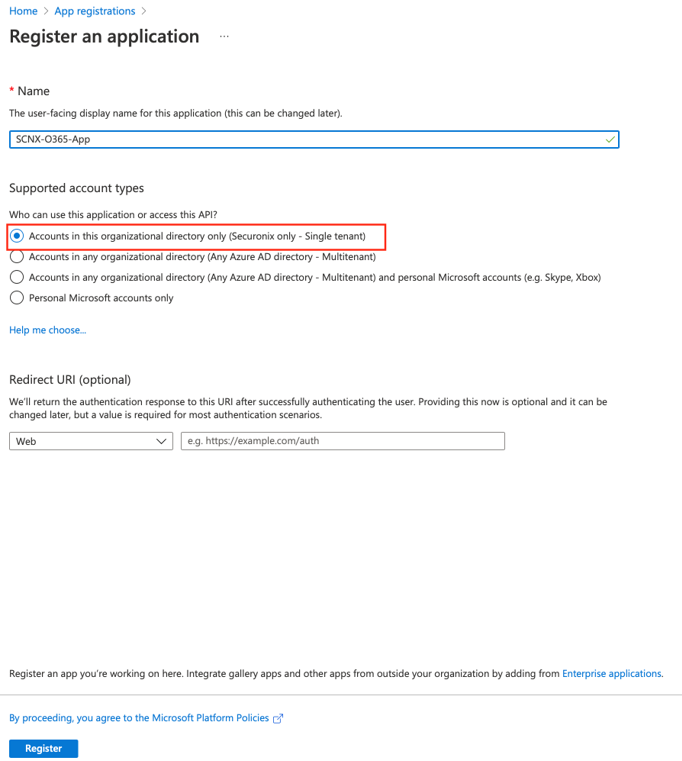
- Click Register. You will be redirected to the newly created application screen.
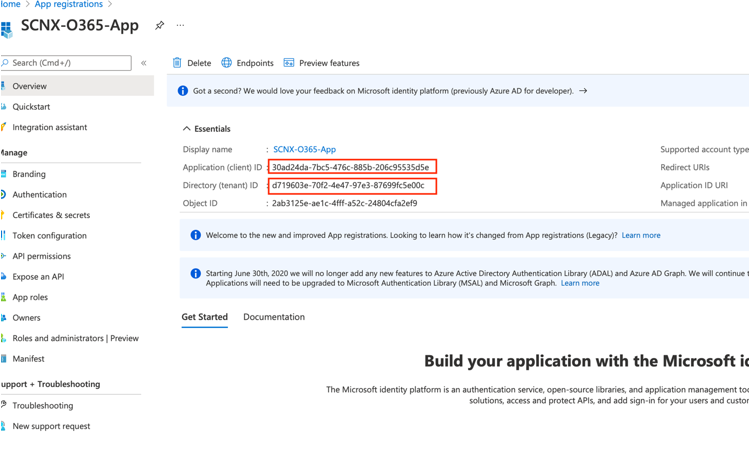
Copy the Application (client) ID and Directory (tenant) ID. You will need to provide these to SolCyber.
- Click API permissions and click Add a permission.
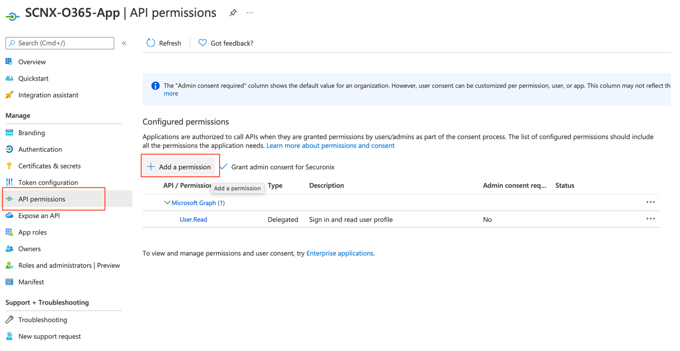
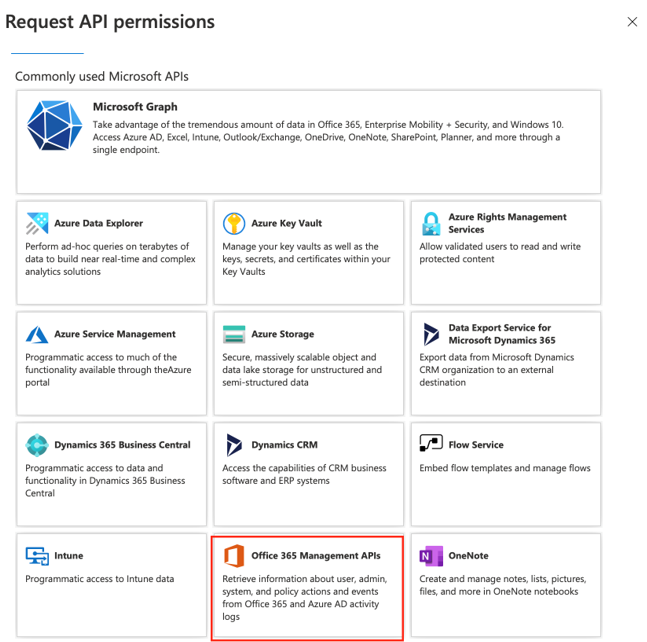
- Click Office 365 Management APIs.
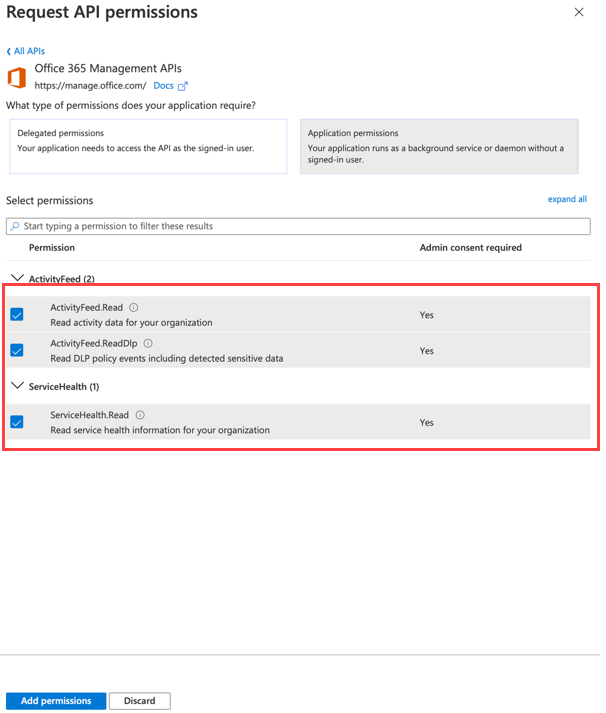
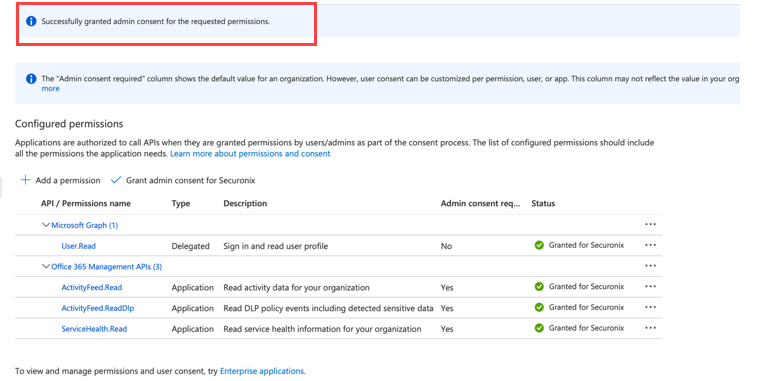
- Select permissions as shown in the below screen:
- Click Grant admin consent for [User] to provide admin consent for changed permissions.
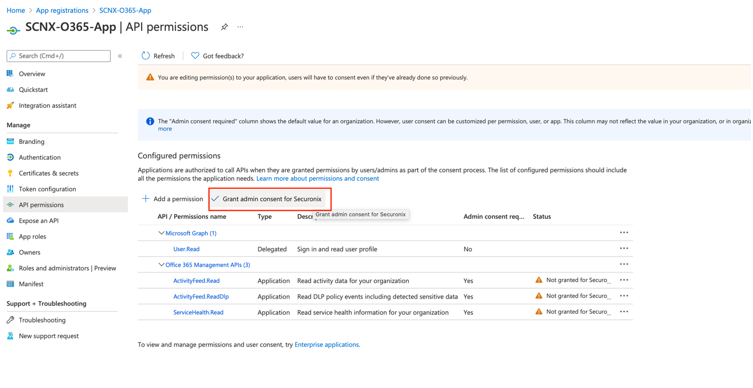
The screen displays the confirmation message.
- Click Certificates and Secrets and click New client secret.

- Provide the following details when the window appears:
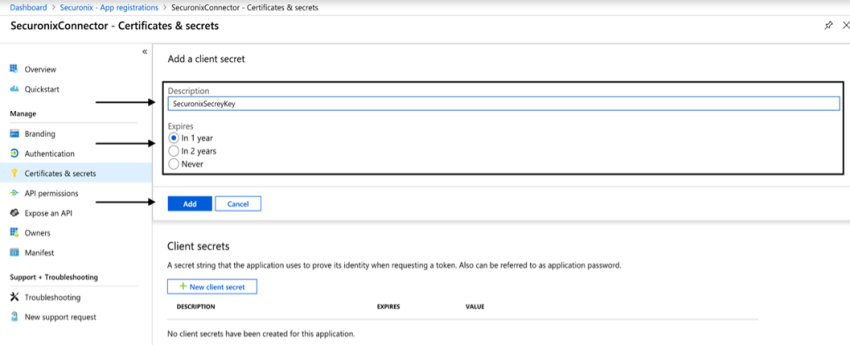
- Description: SecuronixKey
- Expires: 2 Years
- Click the copy icon beside the Value of client secret to copy to clipboard. This value will not be retrievable once you leave this page.

You will need to provide SolCyber with the secret value, along with the App and Tenant ID from above.