Okta System Authentication
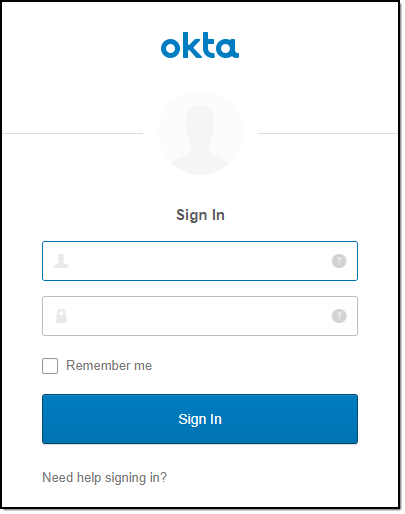
- Navigate to the Okta login screen and sign in with your credentials.
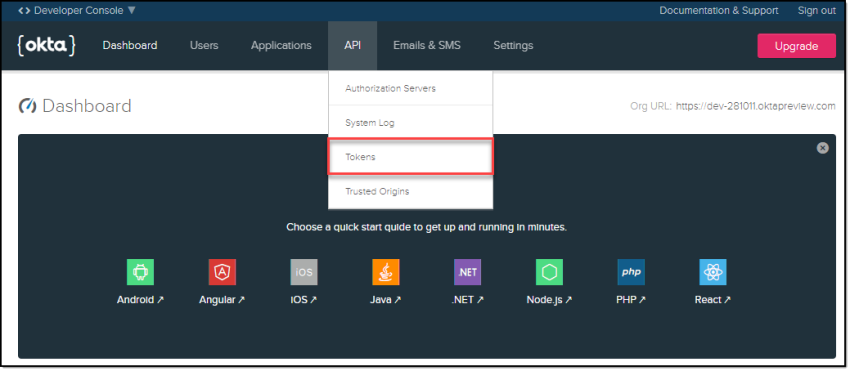
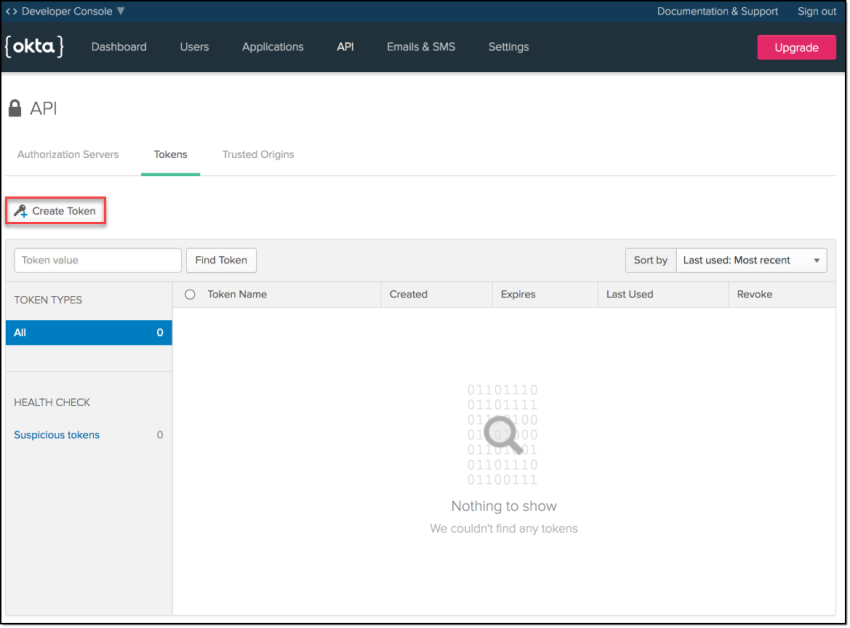
- Click API > Tokens from the navigation menu.
- Click Create Token.
- Enter a name for your token, then click Create Token.
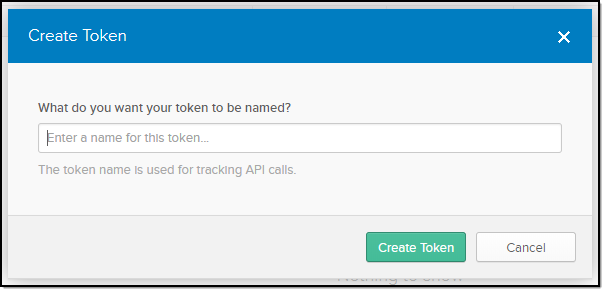
The token name above will be used within SNYPR when you set up the Okta connector.
- Make a note of the Token Value then click OK, got it.
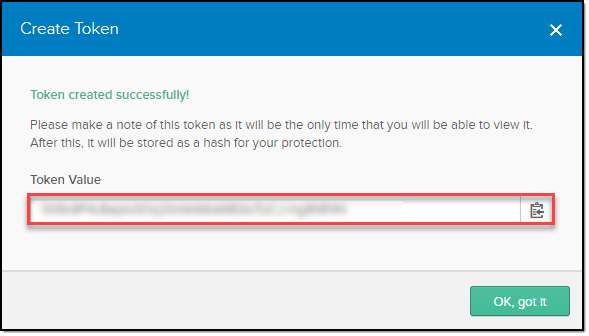
Important: This is the only time you will be able to view your Token Value. When you click OK, got it, the Token Value is stored as a hash for your protection.
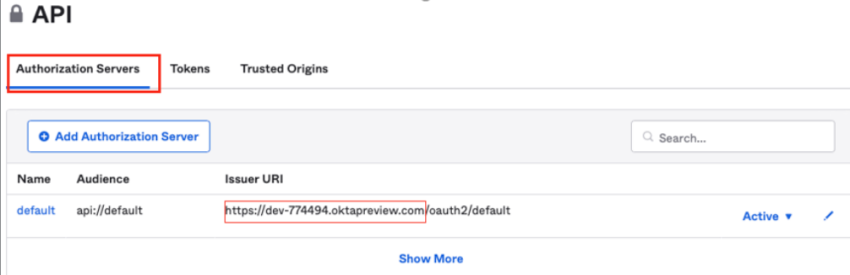
- Perform the following steps to copy the URL:
- Access the Okta application.
- Click Token.
- Click the Authorization Servers tab on top and capture the base URL as in the following image.
Common events in Okta#
This section provides common types of successful, failed, and notable events.
Successful events#
Use the following list to gain a better understanding of the expected messages for successful events:
- Add user to application membership
- User single sign on to app
- Remove users application membership
- User login to Okta
- Push users profile to external application
- Successfully imported new member to an app group
- Sync user in external application
- Updated user application property
Failure events#
Use the following list to gain a better understanding of the expected messages for failed events:
- User login to Okta
- Perform RealTimeSync by AD agent
- Authenticate user with AD agent
- Authentication of user via Radius
- User reset password for Okta (by Admin)
- User attempted unauthorized access to app
- Connect AD agent to Okta
- Authentication of user via MFA
Notable events#
Events for failed multi-factor verification and failed authentication attempts are potential indicators of abuse. The log contains additional context, which allow for pivoting information based on the Target User, Client IP address, User-Agent, and more.