MacOS - Manual Installation
No reboot is required for installation on macOS endpoints
Step One: Install the Agent#
Option 1: Install using the command line#
- Save the Site Token in a plain text file in a folder named
/tmpalong with the Installer package.- Name the Token file: com.sentinelone.registration-token
- Run the installer. Example:
- $
sudo /usr/sbin/installer -pkg Desktop/tmp/SentinelXXXX.pkg -target /Library/
- $
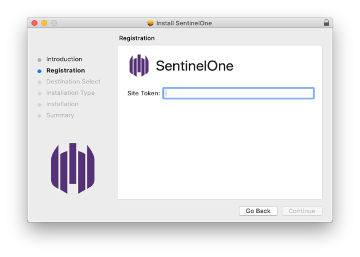
Option 2: Install using the GUI Wizard#
Run the installation package and enter Site Token when prompted in the installation wizard.
Step Two: Grant Full Disk Access#
These instructions are for macOS 13.x and above.
The following steps detail the manual process for granting the S1 agent Full Disk Access. This requires administrative privileges on the device - users many not be able to complete this task alone due to the permission requirements and complexity. We strongly recommend the use of a device management tool like JAMF or Mosyle to deploy these permissions to your Mac devices.
On the local computer, open System Settings.
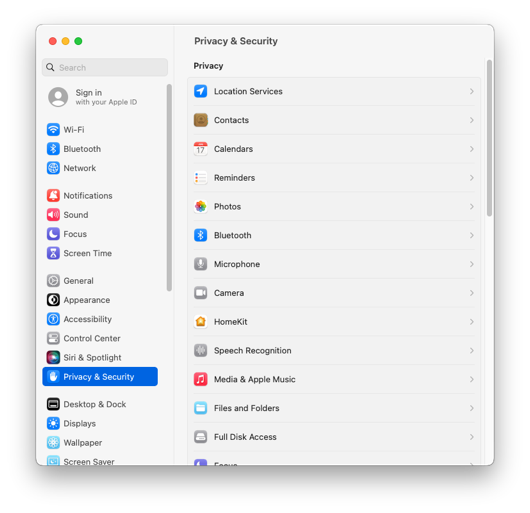
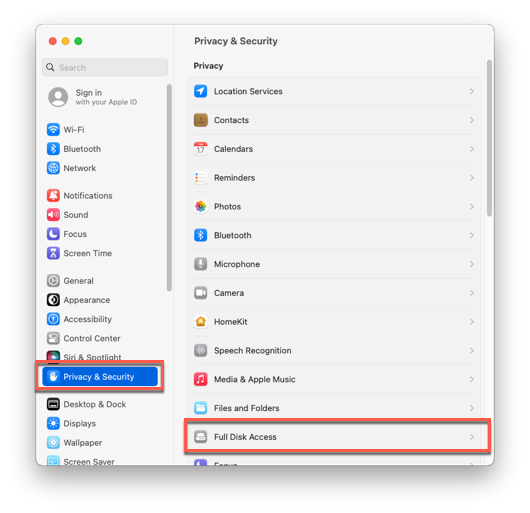
Click Privacy & Security, and select the Full Disk Access tab.
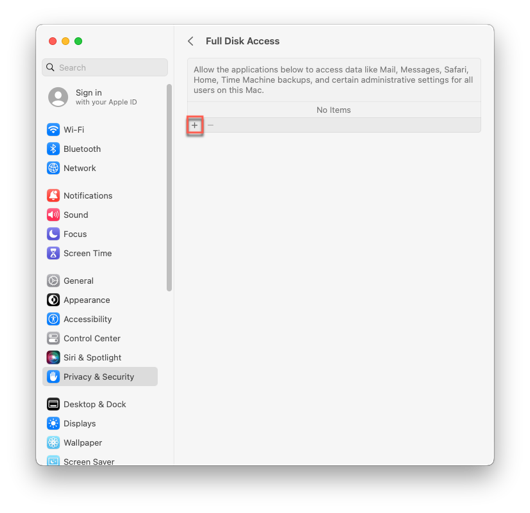
Click the + button.
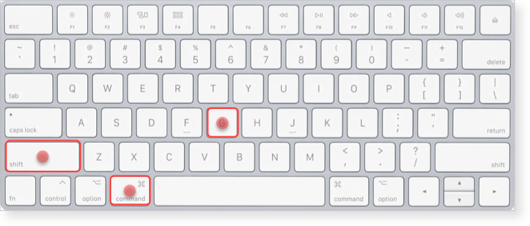
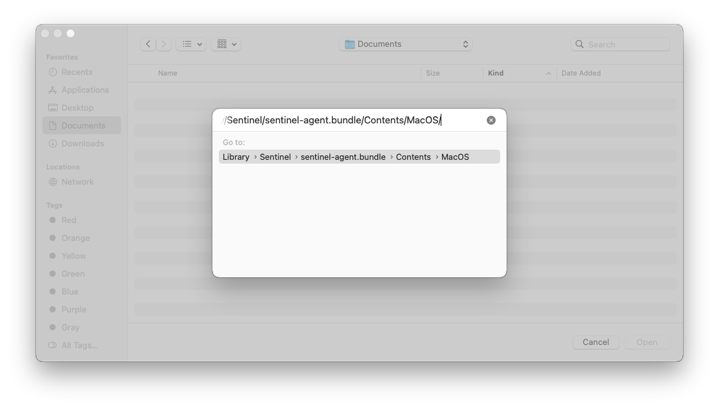
Press and hold Command+Shift+G at the same time to open the Go to the folder menu.
Enter the path:
text/Library/Sentinel/sentinel-agent.bundle/Contents/MacOS/Double click your destination folder..
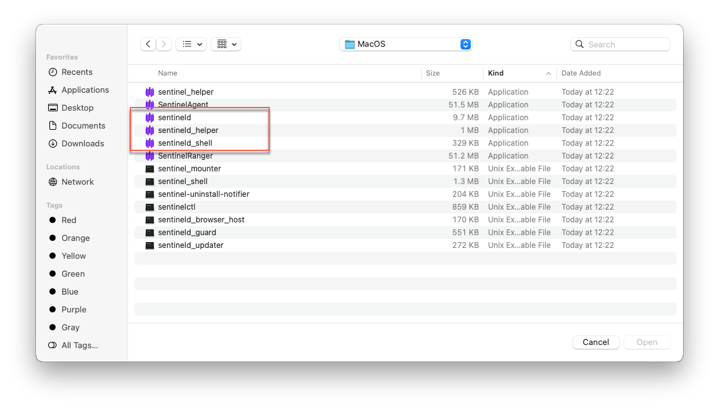
Select the SentinelOne applications, and click Open:
- sentineld.app
- sentineld_helper.app
- sentineld_shell.app
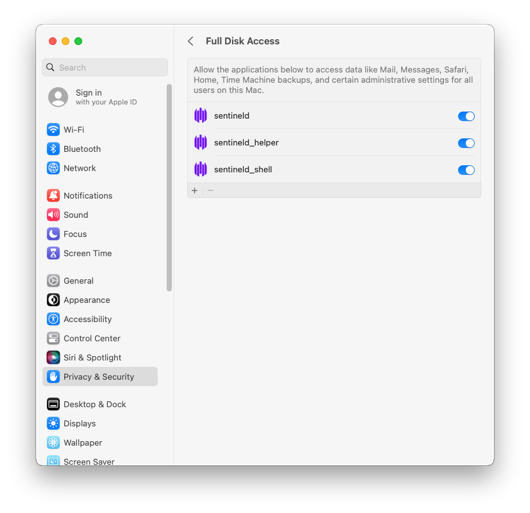
Optional: Drag and drop the SentinelOne applications to the Full Disk Access list.
- Open a Finder window.
- Navigate to
/Library/Sentinel. - Right-click the sentinel-agent.bundle file, and click Show Package Contents.
- Navigate to the
/Contents/MacOS/folder. - Select the required SentinelOne applications, and drag the applications to the Full Disk Access list.
- Close System Settings.
Step Three: Allow Network Extension#
macOS 15 Sequoia:
Open System Settings > General > Login Items & Extensions.
Scroll down to Network Extensions and click the info button to the right.

Enable SentinelOne Extensions.
If a prompt appears asking to allow SentinelOne Extensions to filter network content. Click Allow.
macOS 14 Sonoma and below:
If you see the System Extension Blocked message, click Open System Settings.
Note: If you click OK, the window closes. To approve the SentinelOne Network Extension later, open System Settings > Privacy & Security > Security.

At System software from application “SentinelOne Extensions” was blocked from loading, click Allow.

In the window that opens, click Allow.

Step Four: Allow SentinelOne System Notifications#
Notification permissions are necessary for the agent to inform users about critical security events and actions that need to be taken. This ensures that users are aware of any immediate threats or required actions to maintain the security of their device.
Please note that the Notifications permission is NOT required for the agent to function, but it is recommended to grant the permission.
- Open System Settings > Notifications and find SentinelAgent.
- Toggle on “Allow notifications” and select the specific notification options and styles you prefer.
Uninstall Agent#
Because most agents have Tamper Protection enabled, the easiest method to remove the SentinelOne agent from a device is to have SolCyber send an uninstall command from the SentinelOne console. Please open a ticket (soc@SolCyber.com) to request this.
If the device is offline or you prefer to uninstall the agent yourself, you will need to request the unique passphrase for the device from the SOC, which will enable you to remove the agent locally using the command line.