Microsoft Azure Security Center
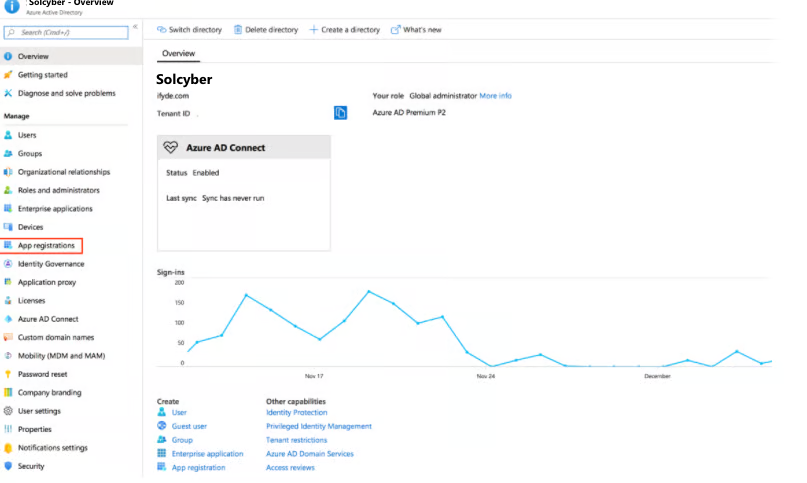
- Open the Azure Active Directory resource in the Azure Portal.
- Click App registrations > New Registration.
Provide a name, and select the account scope to Single tenant.
Click Register.
Click on the new application created on the App registration screen.
Copy the Client ID and Tenant ID, and then click View API permissions.

Click Add a permission, and then click the Microsoft Graph API.

Click Application permissions, search for SecurityEvents, and then select SecurityEvents.Read.All.

Next, go to Certificates & Secrets > New Client Secret. Provide a key name and choose an expiry date (2 years) and save.

You will need to provide SolCyber with the secret value (not the ID) along with the App and Tenant ID from above.
Navigate to Azure Portal > Subscriptions. Copy the Subscription ID for your active subscription.
You will also need to provide the region where your Defender for Cloud resources are deployed (e.g., eastus). To find this, run the following command to retrieve valid location names:
az resource list --query "[].{Name:name, Type:type, Location:location}" -o table